Table of Contents
- What Is Cured Compost?
- Does Compost Need to Be Cured?
- How Long Does Compost Take to Cure?
- Compost Curing
- Compost Curing Tips
- How to Use Cured Compost
* Our articles never contain AI-generated slop *
Without being able to produce enough of your own compost for gardening, you'll be heavily reliant on store-bought compost whose quality will not compare to what you could produce.
Compost is one of the cornerstone skillsets which powers organic gardens. Moreover, composting is gardening. It's not something separate from it. Learn how to make great compost, and your garden will absolutely thrive.
What Is Cured Compost?
So we know compost is super important, but what's the deal with cured compost?
Disclaimer: This post may contain affiliate links. Refer to the privacy policy for more information.
What exactly is the compost curing process, how does it work, and is it important?
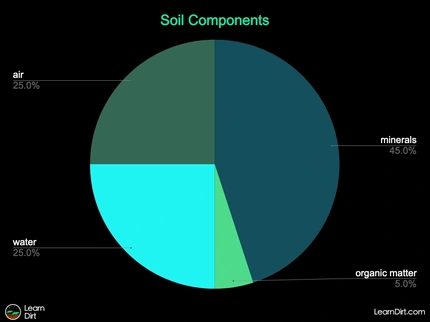
Just like curing vegetables, curing your compost generally makes it better. Here are a few of the benefits of cured compost as compared to uncured:
- Cured compost is less bioactive, having had a chance for major insect, bacterial, and fungal activity to die down a bit
- Well-aged compost breaks down finer, and has less chunks than uncured stuff, and therefore needs less sifting
- Cured compost is better-homogenized, with nutrients distributed more evenly throughout
- Less "hot" than uncured compost, meaning less likely to result in toxicities when applied to plants
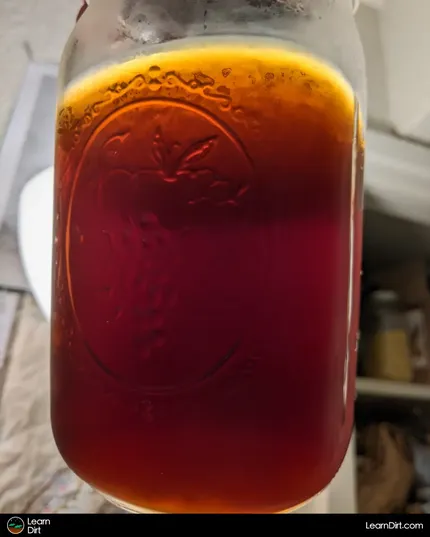
- Finer compost makes better compost tea, because of its increased surface area
- Finer compost is easier to work into the topsoil than chunkier uncured compost
Does Compost Need to Be Cured?
Definitely not, curing is not required for compost (with caveats).
While it's not required, curing your compost before use will give you better results across a wider range of uses.
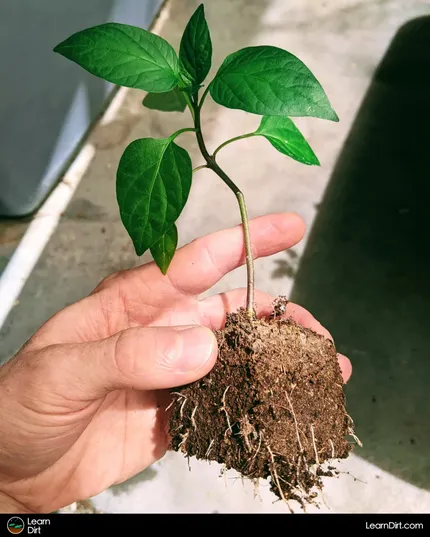
For instance, cured compost will be a lot more gently on your seedlings when used in homemade seed-starting mix than uncured compost will be. If you intend to use your compost as a constituent on your own seed-starting mix, I recommend curing it for at least a few weeks before use if possible.
How Long Does Compost Take to Cure?
While there is no set amount of time for compost to be considered "well-cured", I like to cure mine for 2-3 months when possible.
The longer the better in this case, though it takes time to get far enough ahead on your composting. Year 1 in your garden or on your land, you might not have time to let compost cure. Year 4 on your land might see you curing compost for 6 months before use. It depends entirely on how far ahead you are on your compost.
This is another great reason to never stop composting! Get ahead on your compost production if at all possible, and be patient as your system and process evolves over time.
It's also a great idea to invest in a multi-bay or multi-stage system so that you are always working more compost through the system and have numerous piles at different ages and levels of cure.
Multiple tumblers work great, as do multi-stage pallet or brick bay systems.
Compost Curing
Now for the fun part, let's get into just how exactly the compost curing process works.
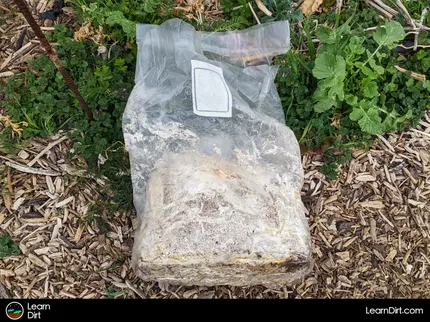
To cure your compost, you will need to let it sit for several weeks or months. During this time, you should turn the pile occasionally to ensure that it breaks down evenly and to promote aeration.
Join The Regenerative Gardening Community
A free & open space for anyone who is passionate about cultivation 🌱
Check It Out!
I usually cure in plastic storage totes or trash cans with a few small holes punched for drainage and aeration.
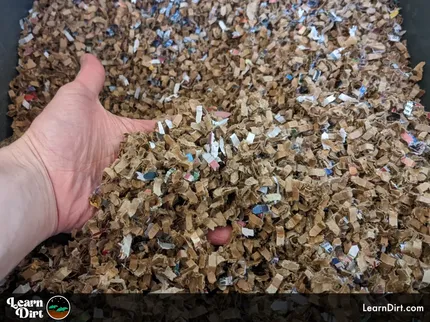
Sift / Screen Your Compost
Sifting or screening your compost is the way to remove all the big chunks and clumps from it. This gives you a finer texture that's easier to utilize in seed-starting and potting mixes.
While sifting is an important step before use, I like to sift my compost before curing as well.
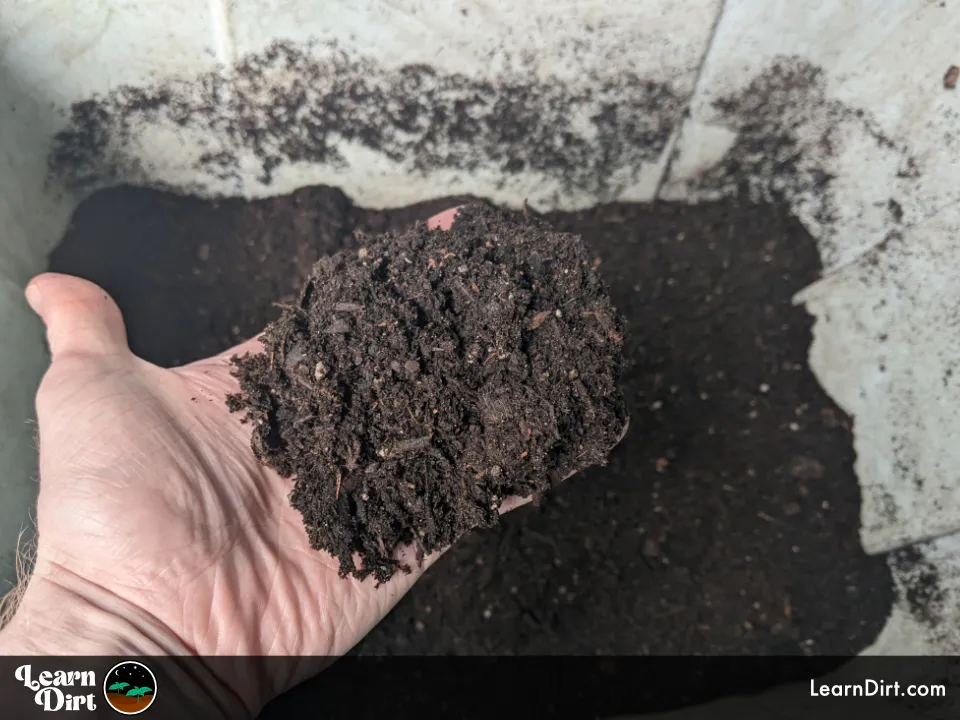
After the compost process, remaining clumps tend to be more wet, bioactive, and nitrogenous than the rest of the compost.
I find these clumps do better when they're redirected back through the compost system for another go-around, rather than sit in my curing compost.
By removing the wet bioactive clumps, the overall moisture and bioactivity levels of the compost are reduced. This sets you up for the perfect cure, as compost has a chance to "chill out" and dry back for a while before use.
I screen out all my compost on 1/4" hardware cloth, and love that I can put 2 pieces on top of each other misaligned slightly for a finer sift. 1 or 2 squares of this can sit on top of a tote or wheelbarrow for easy compost sifting.
Reduce Moisture Level
As your compost cures, you can allow it to slowly become more dry.
I like to gradually dry my compost out as it finishes, prior to sifting and curing.
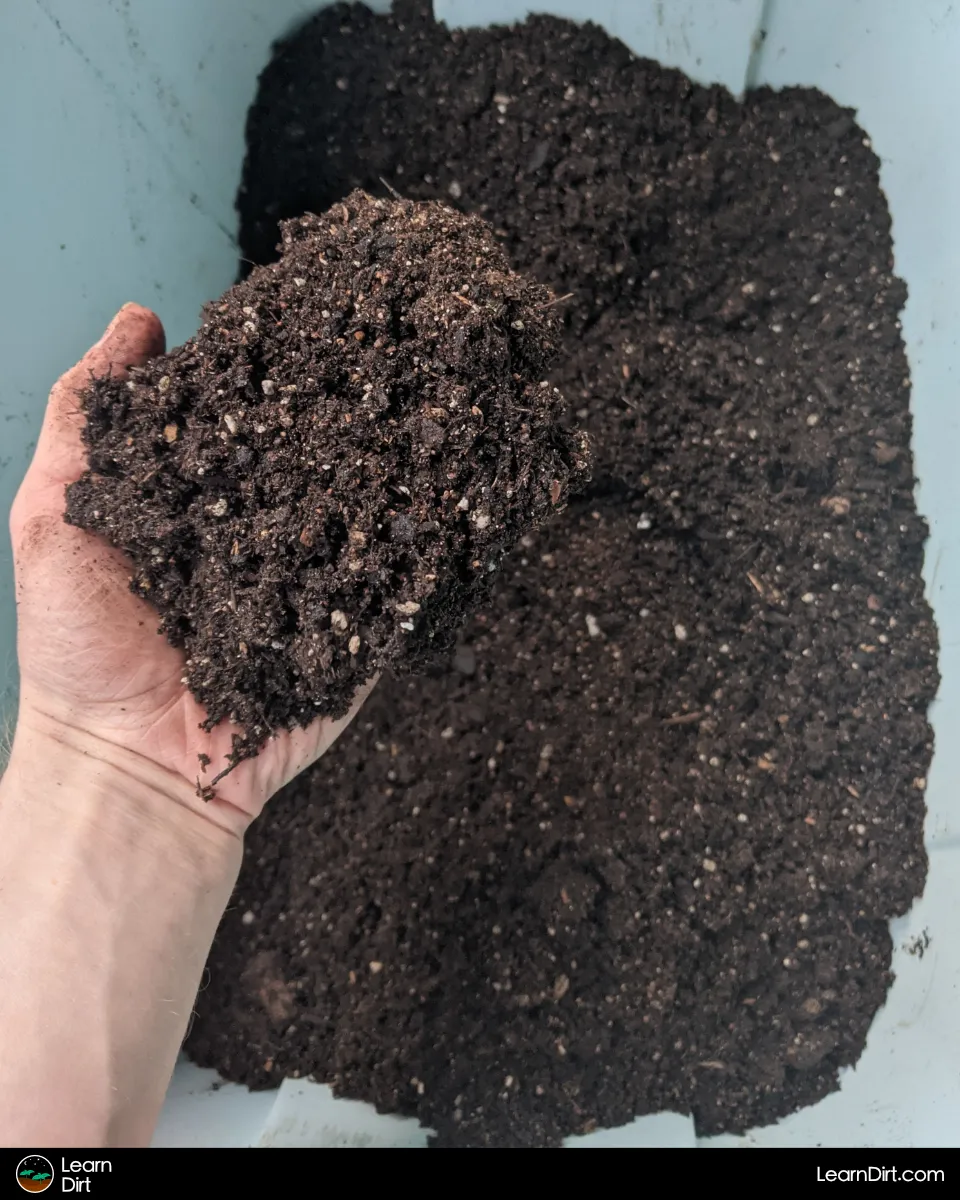
Aim for the moisture level you would find in a bag of store-bought compost or soil - slightly moist but not damp
This will slowly reduce the level of biological activity in the compost as well, making it more reasonable to use for seedlings and starts.
Dryer compost is easier to sift.
Dryer compost breaks down slower, which facilitates a slow curing process which is ideal.
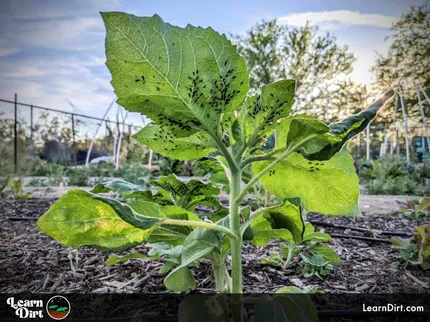
Monitor Bioactivity
Check out our article on Controlling Compost Bioactivity to learn more about bioactivity levels.
Continue Turning It
Curing compost does not require as much turning as active compost, but will still benefit from it.
While technically no compost ever has to be turned, it helps to oxygenate the pile, boosting activity levels of aerobic bacteria and microbes.
For small piles, a compost crank is great for this. Larger piles you'll have to get our your pitchfork, find some friends to help, or size up to the heavy machinery.
If you've got a compost tumbler, just give it a good spin.
Compost Curing Tips
How to Use Cured Compost
Once your compost is fully cured, it's ready to use!
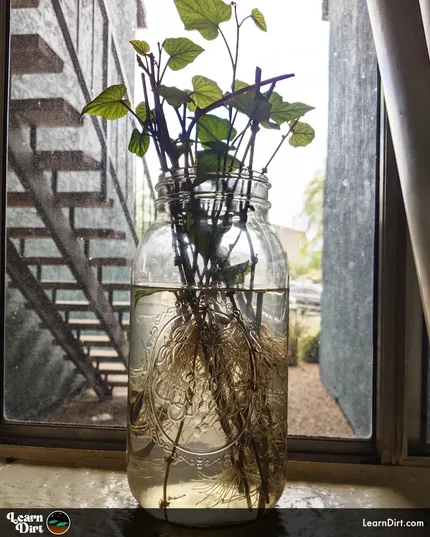
Cured compost makes a great addition to homemade seed starting mix.
I also love using cured compost for bubbling up a batch of probiotic compost tea.
You can also simply mix cured compost into your topsoil, or top-dress around plants or trees and water it in.
That's all for now, thanks for reading!
If you have any questions, comments, or would like to connect with fellow gardeners, head on over to the forum and post there.