Table of Contents
- What is Soil Building?
- Mindset for Soil-Building
- How to Build Soil
- Start a Compost System
- Assess Existing Soil Condition
- Assess Environmental Factors, Resources, Climate, and Challenges
- Make a Cover Crop Rotation Plan
- Irrigate
- Seed Cover Crops
- Chop and Drop
- Expand to More Cover Crops as Soil Quality Improves
- Begin Planting Main Crops Amongst Cover Crops
- Gradually Move Towards Few Covers and More Main Crops
* Our articles never contain AI-generated slop *
If you want to learn how to build great soil organically, you're in the right place.
In this guide we'll talk about building the healthiest possible soil for your garden or farm and do it with zero chemicals.
If you're tired of wasting money, time, and effort hauling bag after bag of dirt from the local nursery or big box store, this guide is for you.
Disclaimer: This post may contain affiliate links. Refer to the privacy policy for more information.
If you are spending more money on soil than you are on seeds and water, this guide is for you.
If you want to grow some tomatoes without them costing you more than grocery store tomatoes (iykyk), this is the guide for you.
What is Soil Building?
Let's jump into some of the basics here to set the stage for the concepts that I'll cover later.
What even is soil anyway?
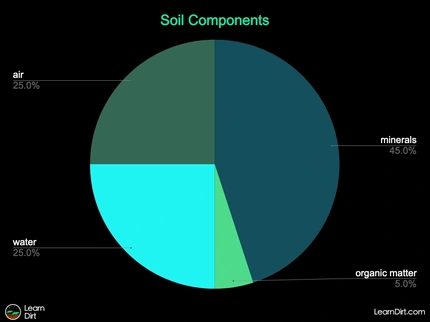
Soil is comprised mostly of carbon, nitrogen, phosphorus, potassium, water, trace minerals, and a thriving microbiome of zillions of different micro-&-macroscopic critters.
Soil-building is the process of working with nature to create fresh healthy soil. An important skillset to have if you cultivate plants!
Check out Soil Components to learn more about what soil is comprised of.
Mindset for Soil-Building
Your perspective on soil matters, and there are multiple vantage points to look at dirt from.
For the chemical farmer, soil is an inert sponge. A largely dead medium whose sole purpose is to soak up chemicals and allow plants to draw from them.
For the organic farmer, soil is a holism. An interconnected and complex ecosystem. A harmonious balanced equilibrium carefully maintained to allow plants, animals, fungi, bacteria, protists, arthropods, birds, mammals, humans all to thrive.
To the chemical farmer, soil needs to pay the bills this year. There must be good yields now.
To the organic farmer, building healthy soil is a long-term project which requires a vision for the future. Dirt is an investment which will grow in quality and abundance over time. The land should be left better than one found it, with eyes focused on future generations who must live with the stewardship choices we make today.
Join The Regenerative Gardening Community
A free & open space for anyone who is passionate about cultivation 🌱
Check It Out!
How to Build Soil
The very first thing I'd suggest is throwing out the idea that your soil will produce exceptional yields in your first year on a plot. Soil-building is a long-term game, and there's no substitute for time.
That said, I do understand the need to get up and running quick in certain situations - especially commercial ones. I'll cover some tips and tricks here for speeding up the process, especially in the first year on the land.
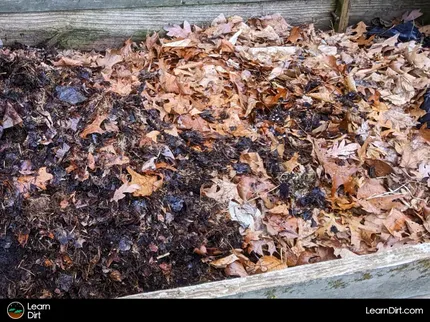
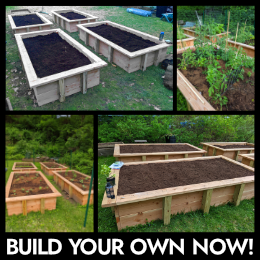
Start a Compost System
The very first step I would take towards building soil on a new property is starting a compost system.
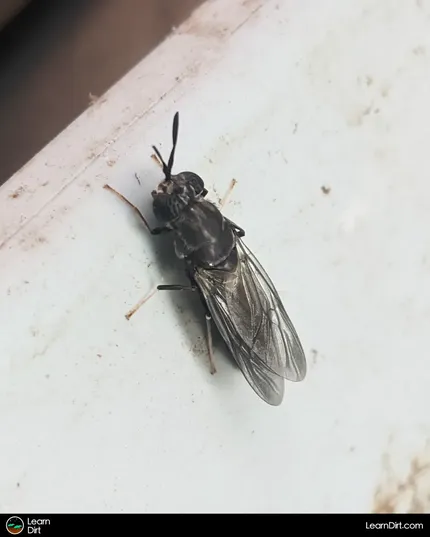
This could be cold compost, hot compost, a worm farm, a black soldier fly bin, etc.
A compost tumbler is probably the quickest and easier way to get started, but you can get creative utilizing anything you have on hand to contain your compost.
You can also just build a big pile in your yard if you're not too worried about critters, nor about evaporation in hot dry climates.
I've also seen folks utilize hay bails as compost bay walls to contain a pile and lock in moisture. Bricks work. Pallets work. Composting in plastic tubs or totes work. Trash cans work. You can compost almost anywhere, so don't let a lack of money or space deter you here.
Consider utilizing a Bokashi pre-fermentor if you want to reduce kitchen scrap smells and speed up the process.
A compost system will likely have much more effect on smaller properties and gardens than on large farms. Compost can scale, but it's difficult to manage a system large enough to power a sizable farm. It's can also be difficult to find enough nutrients for a lot of compost. Farms and larger properties may find it more economical to feed their scraps to animals and harvest the manure.
In small home garden situations, however, compost can be a vital piece of your system.
Check out my article here to learn more about setting up your own compost system.
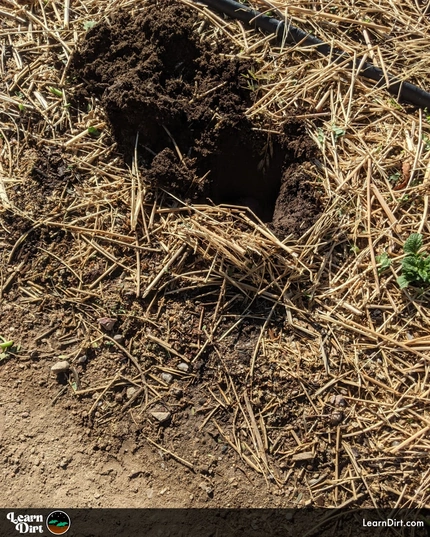
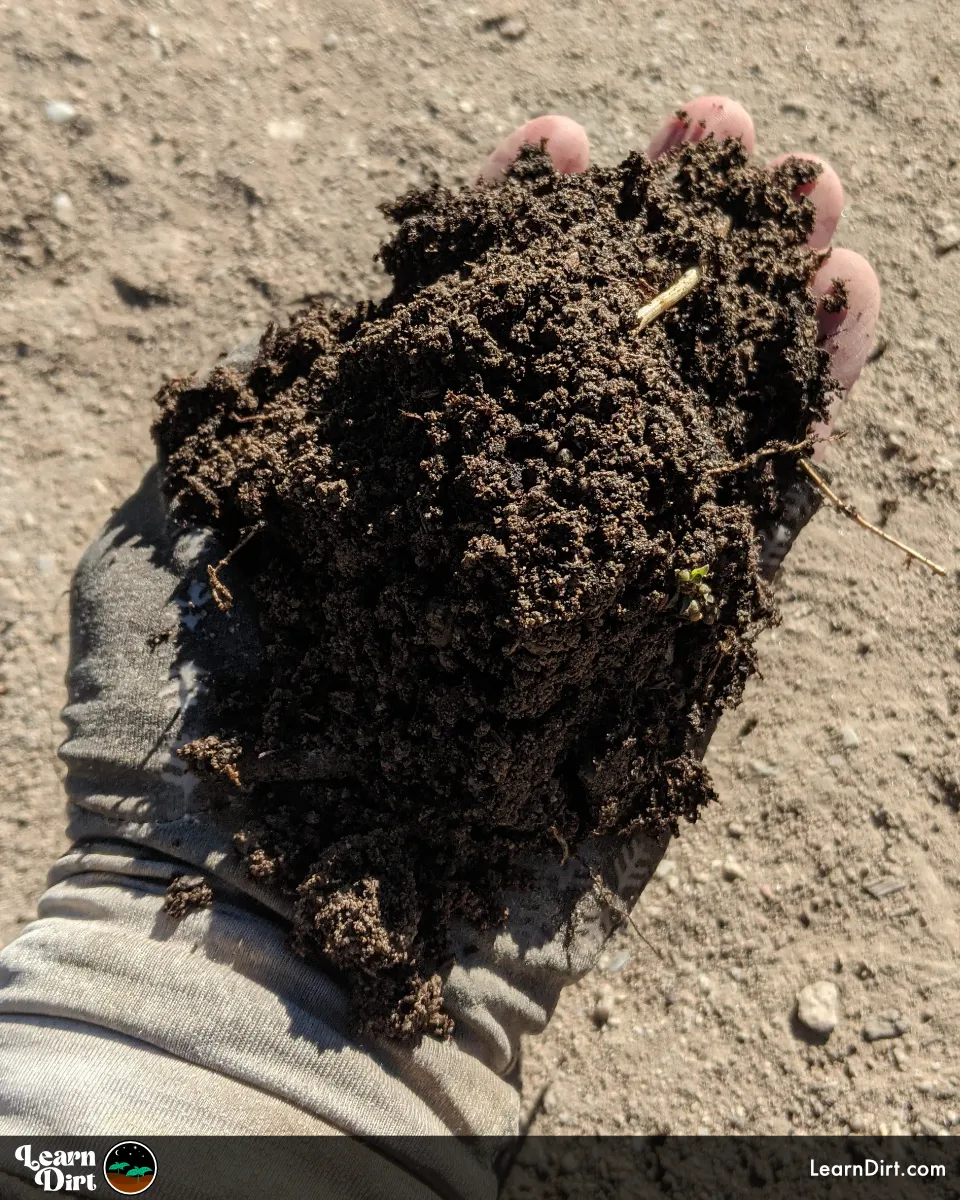
Assess Existing Soil Condition
Every property and each parcel of land has its own unique soil.
Assessing your existing soil condition before you begin building soil allows you a benchmark against which you can gauge your progress over time.
Check out your existing soil before you start to improve it, so you know what you're working with and what it might need.
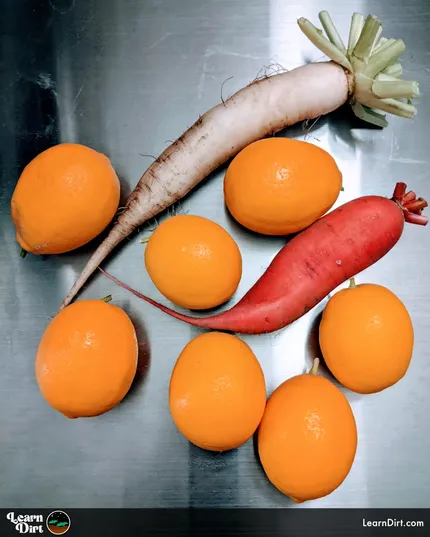
Dry sandy soil might need more organic matter in order to hold moisture and increase rainwater infiltration rate. This is common in the desert where I live.
Clay soils might hang onto too much moisture and have a difficult time draining.
Heavily compacted soils may be difficult for rainwater to permeate through, and give your plant roots a tough time.
I'd also recommend checking out my article here on the soil texture triangle to learn more about the texture and composition of your native soil.
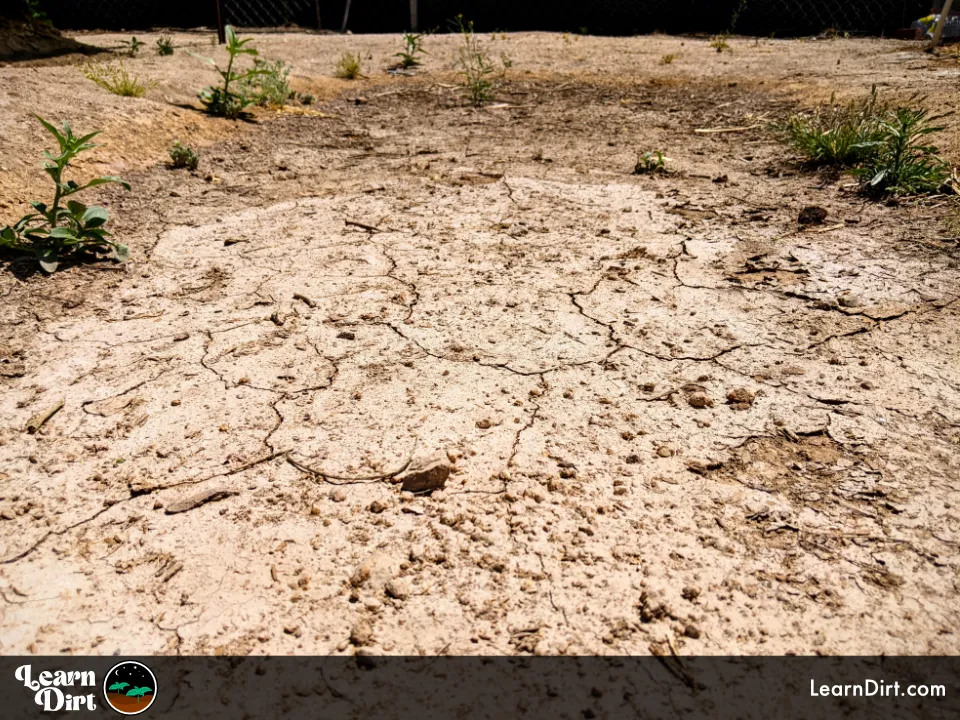
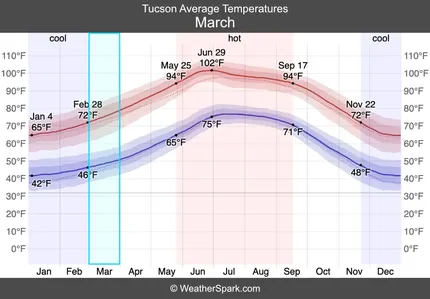
but it's the perfect backdrop against which you can gauge whether your soil-building is working! Any soil improvement is very noticeable in the desert.
Assess Environmental Factors, Resources, Climate, and Challenges
Every piece of land has its own climate, with microclimates within it.
Each piece of land comes with its own resources, topography, needs, water access, and challenges.
Understanding your land, it's strengths, and its weaknesses will allow you to plan around available resources and work with the land to utilize it in the best way possible.
Here in the drylands it's paramount that we understand our land topography and how water flows across it, catches, infiltrates, and dissipates.
This allows us to make strategic plans for soil building and moisture retention which are informed by the land.
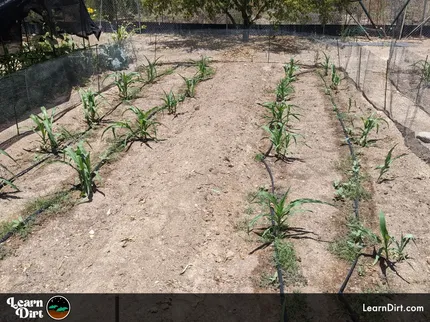
Make a Cover Crop Rotation Plan
Come up with a plan for which cover crops you will utilize on your land to improve your soil.
Understand which seasons you'll be able to grow each unique cover crop in.
Start with heartier cover crops first if your soil quality is poor.
Here in Tucson, our native soil has less than 1% organic matter content. It is extremely alkaline, with a pH often above a 9.0. it's moisture retention is exceptionally low. It's rainwater infiltration is poor. When it rains, it pours, and our native desert soil does not do a good job of capturing or holding moisture when it does.
As the soil quality improves, so too will its moisture retention, it's drainage, it's pH, nutrient availability, rainwater infiltration rate, etc.
If you started with poor quality soil, it will take a few seasons of heartier cover crops chopped and then dropped in place to begin to improve soil.
Later, you will be able to plan for an expanded array of cover crops as your soil begins to allow for more delicate species to grow.
Irrigate
Assuming you are in a drier climate you will need to irrigate. If you are in a wet region you might not have to and maybe able to ignore this step.
For those of us in the dry lands, we rely heavily on irrigation.
Dig Cool Merch?


When starting with low quality native soil like we have here in the desert, irrigation needs will be highest in the first year. As soil quality builds and organic matter increases, so too does soil moisture retention.
Each year you improve your soil, it's moisture retention and moisture infiltration rate will both increase.
Where I am in the desert, good dirt is worth more than gold. Once you build great soil, you'll need far less irrigation than most people.
If you do it right, you'll need less water for a given area each year.
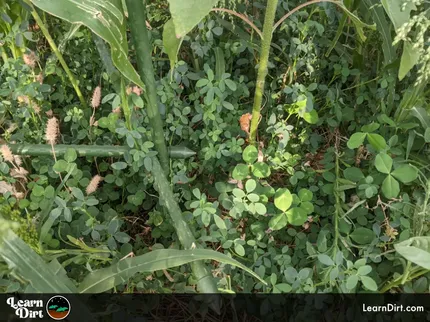
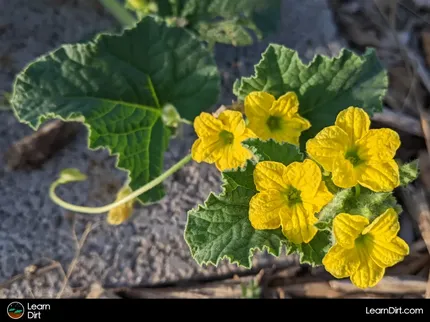
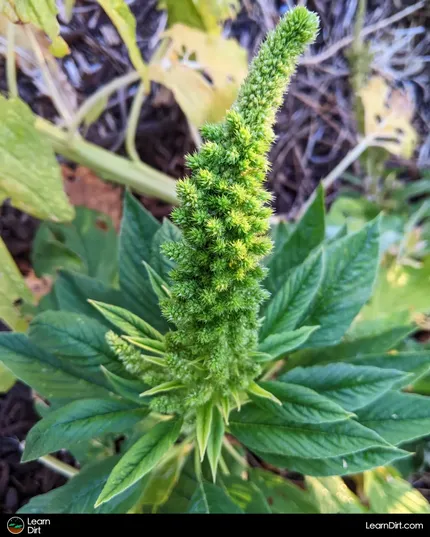
Seed Cover Crops
You'll want some cover crops as a quick source of carbon.
You'll want other cover crops for their nitrogen fixation.
Carbon-heavy crops that you can chop alongside nitrogen rich crops that you can chop will allow you to create compost in place.
N + C + Water + Biology + Trace Minerals = Compost.
Grabbing a mixed cover crop seed is a great idea here if you're not sure which cover crops to use. You can try a whole bunch at once and observe which ones work best for you and under what conditions.
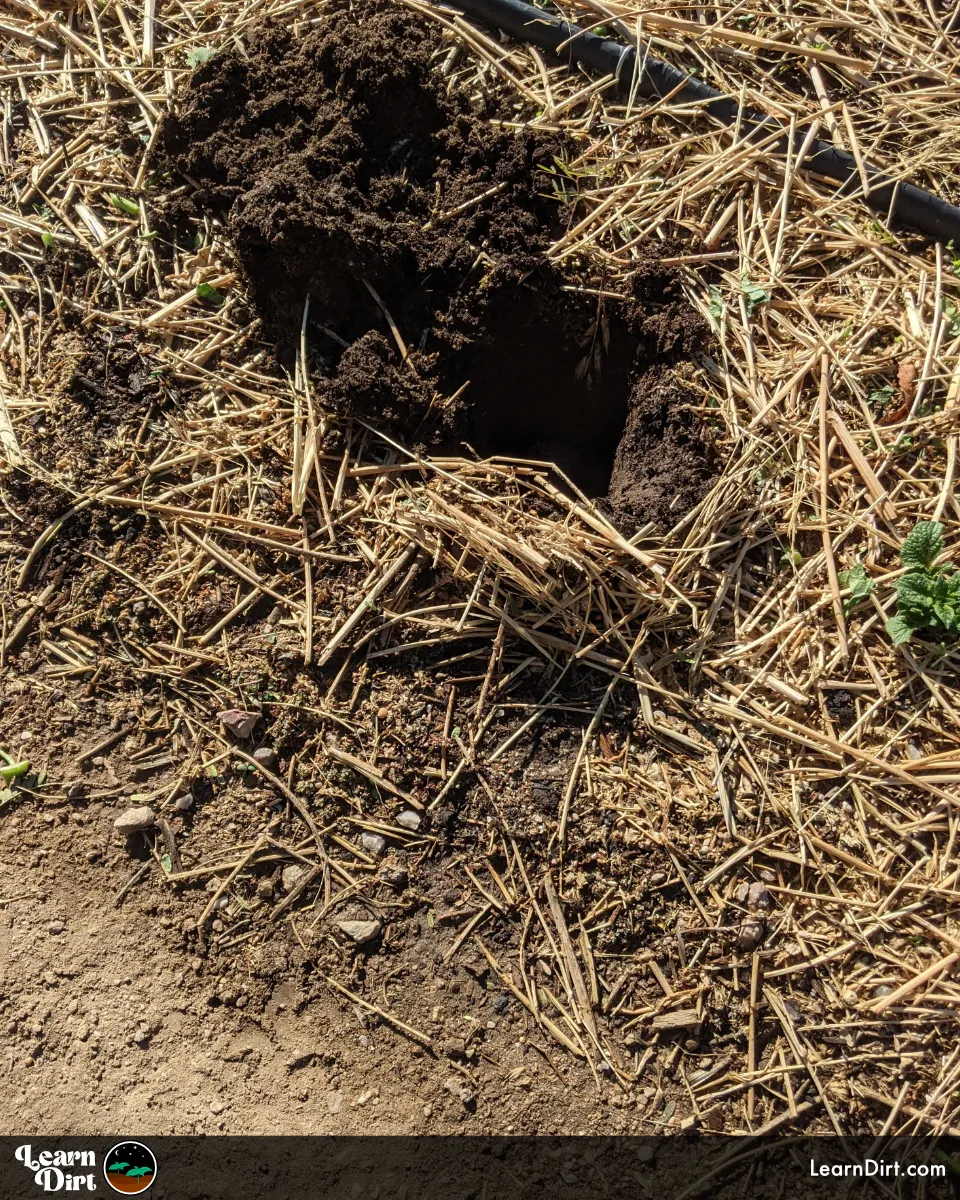
Chop and Drop
Chopping and dropping your cover crops to the ground as they grow allows the clippings to compost in place.
This 'in situ' compost will actively build the next layer of soil right where it's needed.
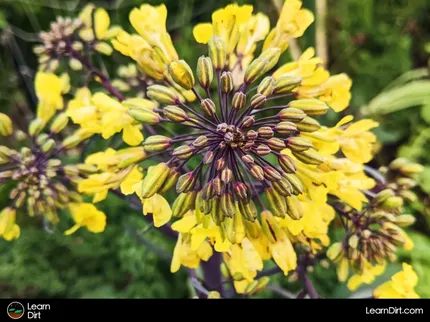
Expand to More Cover Crops as Soil Quality Improves
After the heartier cover crops have started to transform your soil, it will be able to support more fragile cover crop species.
You should expand to a greater diversity of cover crops here, to support more pollinators and build better soil quicker.
Begin Planting Main Crops Amongst Cover Crops
Now that your soil quality has improved, you'll be able to support some main crops as you continue to improve with covers.
Check out our guide to Growing Main Crops Alongside Covers.
Gradually Move Towards Few Covers and More Main Crops
As the soil quality improves you'll be able to move towards a ratio of more main crops and fewer cover crops.
Dig Cool Merch?

That's all for now, thanks for reading!
If you have any questions, comments, or would like to connect with fellow gardeners, head on over to the forum and post there.