Table of Contents
- What Type of Garlic to Vernalize
- Why Vernalize Garlic?
- Garlic Vernalization Timing
- Temperature Range for Garlic Vernalization
- Extra Vernalization Precautions for Garlic
- Additional Reading
* Our articles never contain AI-generated slop *
Let's talk vernalization - what it is, why it's important, and how to vernalize garlic.
If you haven't already read our article explaining the basics of vernalization, jump over there now and then come back here once you've got the gist of it.
What Type of Garlic to Vernalize
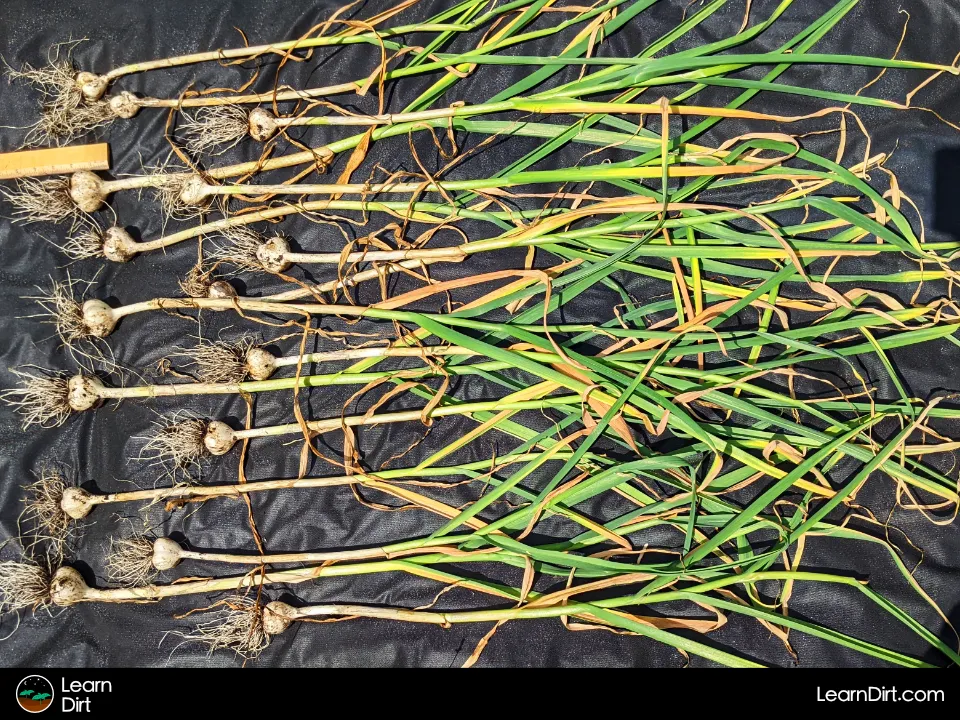
Typically hardneck is the type of garlic that requires vernalization.
Disclaimer: This post may contain affiliate links. Refer to the privacy policy for more information.
This is because hardneck garlic tends to grow further from the equator in colder regions, where frosts and freezing winter temps naturally vernalize autumn-planted garlic outdoors in the soil.
Softneck garlic can grow without vernalization, because it's used to warmer climates with milder winters.
Why Vernalize Garlic?
These are 2 main reasons to artificially vernalize your garlic before planting. They are:
-You want to plant hardneck garlic in a climate with mild winters, where temperatures will not remain below ~40F for the necessary 8 to 10 weeks.
-You want to plant garlic in the spring, rather than in autumn.
Garlic Vernalization Timing
Counting back 10 weeks from your target planting date to begin vernalization is a good rule of thumb which ensures a long enough time spent in the target temperature range.
Join The Grower's Community
Whether you cultivate vegetables, house plants, succulents,
mushrooms, flowers, cannabis, or more...
you're welcome here 🌱
Check It Out!
Temperature Range for Garlic Vernalization
Garlic needs to sit in a specific temperature range for proper vernalization.
Anywhere from about 28F to 43F is ideal (-2C to 6C). This makes refrigerators, typically a ~40F environment, a great place to vernalize your garlic cloves.
Extra Vernalization Precautions for Garlic
Refrigerators tend to have a dehydrating effect on everything, and garlic left in the fridge for 6+ weeks can easily dry out too much and no longer be good for planting.
You'll want to put your garlic in a plastic bag to prevent this. It's important to note, however, that a completely sealed plastic bag can have the opposite effect - trapping moisture and causing mold.
Of all the things I've tried, I like this method the best:
Thoroughly cure your garlic after harvest, to ensure a lower moisture level before refrigerator vernalization. Check out our article on curing garlic to learn how.
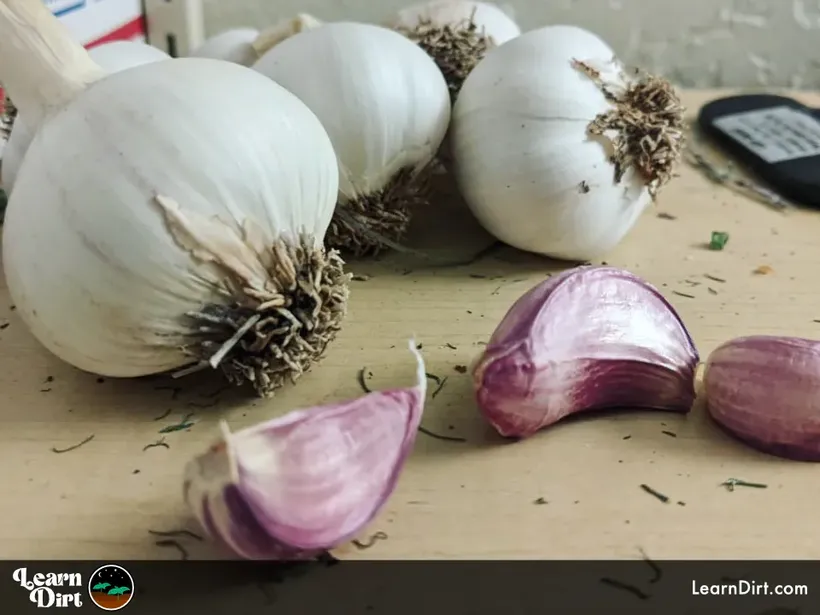
Separate your garlic cloves, but don't peel them. Put them in a sealed plastic bag along with a bit of dry paper towel to absorb any excess moisture.
Poke a few small holes in the bag, to allow a small amount of moisture to escape. This should prevent mold, without letting the garlic totally dessicate.
This method may take a little practice to get exact, but you can dial it in as you go along with intermittent checks.
If you look at your garlic and see more than the smallest amount of moisture buildup in the bag, open the zipper somewhere or poke a few more holes.
If you never see any moisture building and you end up with shriveled up, dessicated garlic after your vernalization you know to poke less holes with smaller diameters in the bag next year.
Additional Reading
Want to take your garlic growing to the next level? Check out our Ultimate Guide to Growing Garlic to keep learning.
That's all for now, thanks for reading!
If you have any questions, comments, or would like to connect with fellow gardeners, head on over to the forum and post there.

