Table of Contents
- Why Ferment Garden Veggies?
- Fermented Vegetable Benefits
- Fermentation Science
- Lacto-Fermentation How-To
* Our articles never contain AI-generated slop *
Why Ferment Garden Veggies?
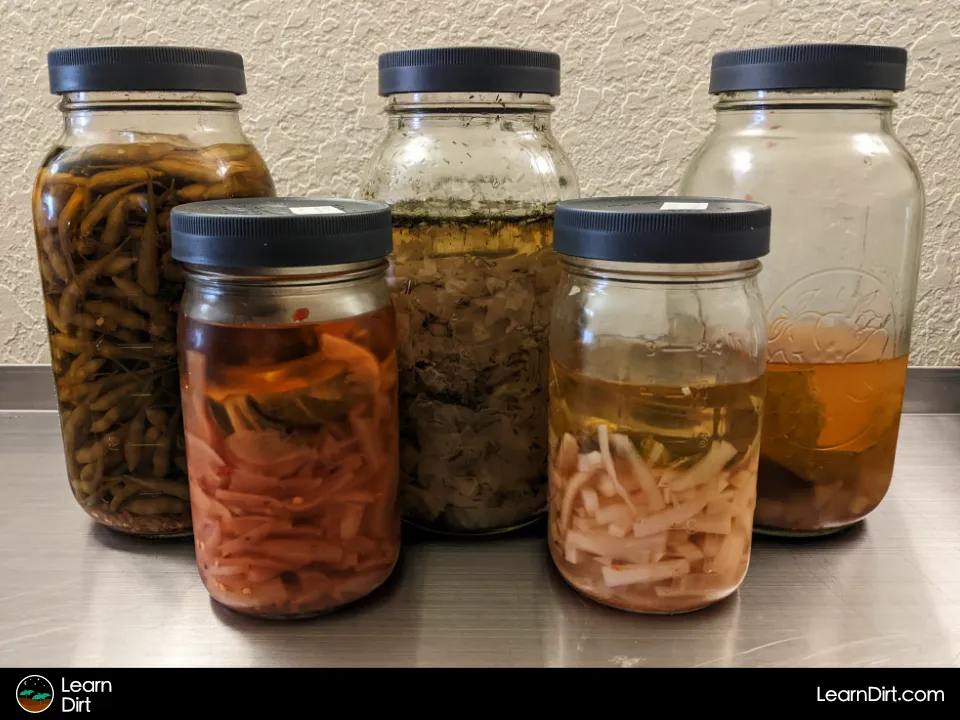
There are a ton of great reasons to ferment the veggies that you grow in your garden. Not only is this one of the easiest methods for preserving abundance, it's also nearly impossible to mess up!
If you're new to preserving food, fermentation is a great beginner-friendly choice, and the ferments you make can last many months or even years.
You also don't need any expensive supplies, and probably already have most of what you need to get started.
Disclaimer: This post may contain affiliate links. Refer to the privacy policy for more information.
One of the Easiest Preservation Methods
While it may seem complicated, fermentation is actually one of the easiest ways to preserve the food that you grow.
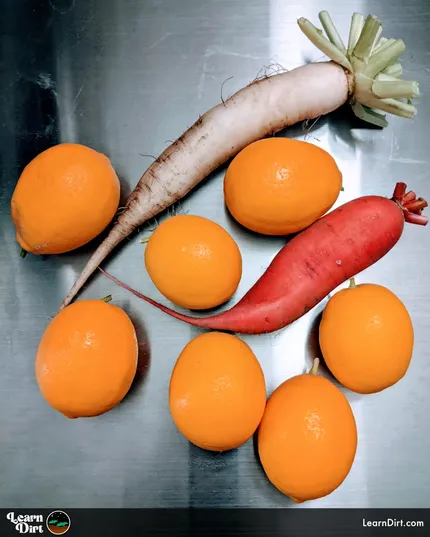
You chop up any veggies, from roots to leafy greens, to tomatoes or peppers, and anything in between.
You put the chopped up veggies in a mason jar, and pour a brine of salt and water over them.
Next you cover the veggies with a weight to keep them submerged, and simply wait for time to do the rest. That's it!
If you've been putting off getting into fermentation, let this be your sign to jump in and get started today. It's so much simpler than you'd ever assume it was.
Almost Impossible To Mess Up
Because fermentation relies on a salty brine which almost nothing but lactobacillus can live in, and then the lactobacillus which develops creates acetic acid (vinegar) that drops the pH - you'll easily create an environment where no bad bacteria or fungi can grow.
Join The Grower's Community
Your space to connect, learn, and belong 🌱
Check It Out!
This means that it's almost impossible to mess up a ferment. If you can weigh water and salt on a kitchen scale and chop veggies, you can make your own ferments.
Fermented Veggies Can Last Years
When stored in a cool place like a fridge, basement, or root cellar, fermented foods can last for months or even years.
Fermentation is one of the quickest and simplest ways to preserve your garden harvests for a very very long time. When too much produce comes in from your garden all at once, throw some in jars to ferment and you can eat them for the rest of the year without complicated preservation methods.
No Expensive Supplies Needed
The only real supplies you need to ferment are glass jars and fermentation weights. The weights are not very expensive, so this is one of the most cost-effective ways to start preserving food fast.
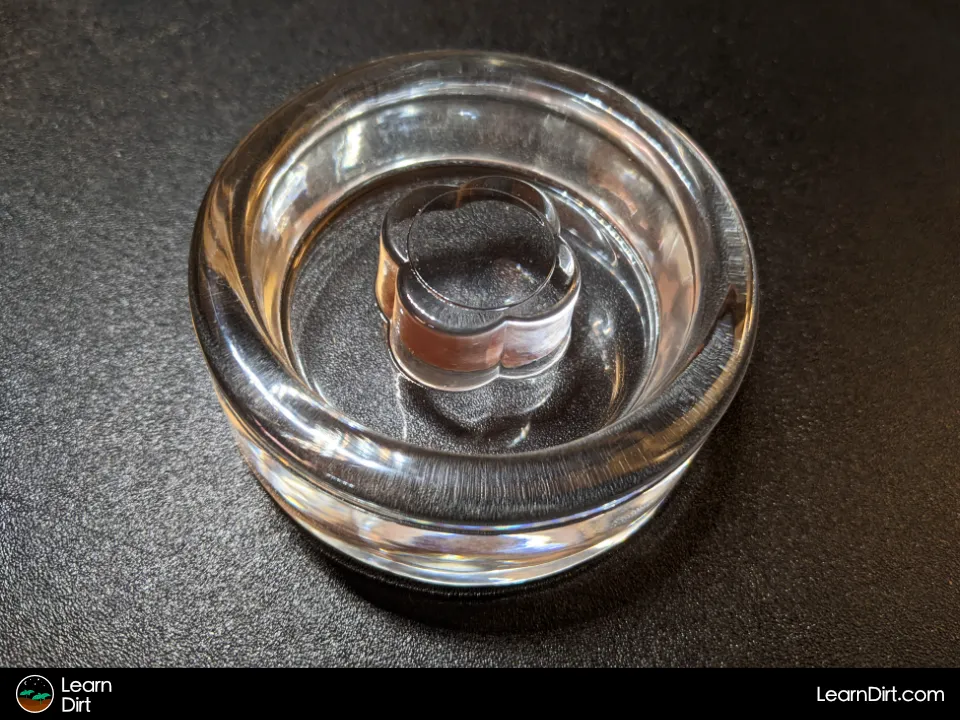
Unlike investing in a pressure canner (which costs hundreds) or a freeze-dryer (which costs thousands) you can use the jars you have on hand, buy a pack of fermentation weights for less than $30, and you're in business!
Fermented Vegetable Benefits
When you ferment your own veggies, you create powerful probiotics which are amazing for gut health and improve nutrient absorption.
Fermenting is also a great way to preserve the nutrients present in the foods you grow. If you're growing your own food, then you already know that the nutrient density is so much higher than anything you can buy in the grocery store - so why not preserve it in a way that protects the nutrients?
Ferments are also extremely delicious, so there's really no reason not to jump into the wonderful world of fermented foods today.
Healthy Probiotic
Fermented foods are extremely healthy, containing billions of living probiotics which help with digestion and bring your gut microbiome into balance.
If you suffer from digestion issues or heartburn, adding fermented foods to your diet can help your digestive system to process everything else that you eat better. Even just a spoonful of the brine from your ferments can help with gut problems.
Bonus points because probiotics will help you to better-absorb the nutrients in everything else you eat!
Nutrients Maintained Through Fermentation
Because fermentation doesn't rely on heat (like dehydration or canning) and doesn't rely on freezing, more of the good nutrient density in your veggies are maintained.
This makes fermenting one of my favorite ways to preserve what I grow in my garden, and I think you'll feel the same way once you give it a try yourself.
Fermentation Science
How Does Fermentation Work?
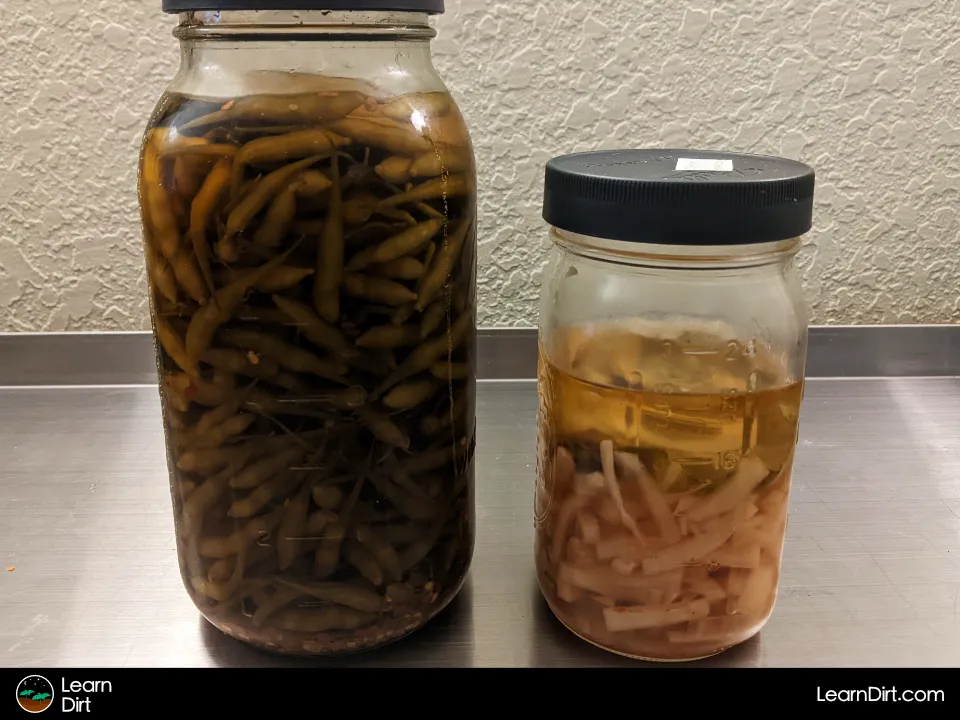
Vegetables are submerged in a salty brine.
The brine is salty enough that only the wild lactobacillus on the vegetables is able to grow.
As the lactobacillus grows, it consumes the veggies and partially breaks them down.
This lacto-ferment produces CO₂ as a byproduct (which is allowed to escape) and acetic acid (vinegar) which infuses into the brine.
As the vinegar is produced, the pH drops (the brine acidifies) and becomes tangy and tasty.
The vinegar further prevents other organisms from growing in the brine, making lacto-fermentation relatively foolproof. As long as the brine is salt enough to begin with, and the pH drops low enough - nothing other than lactobacillus is able to live.
How Safe is Vegetable Fermentation?
Many gardeners express concerns about the fermentation process, from pressure buildup (cracked jars), to mold, and even botulism. Rest assured, though, that you don't really have to worry about any of these things.
Dig Cool Merch?
Fermentation is dead-simple, and it's extremely safe. As one of humanity's oldest methods of food preservation, humans have safely practiced fermentation for tens of thousands of years and you'll get the hang of it very quickly.
I know gardeners who were worried about safety and complexity before starting their fermentation journeys - but who now love this method of food preservation!
Because ferments utilize both a high level of salt, and a very low pH (high acidity), it's almost impossible for any harmful bacteria, mold, or botulism to grow. While it is possible for mold to grow above the brine level, we'll discuss how to make sure everything is properly submerged in brine to prevent this.
Rest assured your ferments will be both safe and delicious! So what are you waiting for? Let's jump into the "how":
Lacto-Fermentation How-To
Fermentation Supplies Needed
You only need a few things to kick-start your fermentation journey. They are:
- Fresh Vegetables (practically any kind will do)
- Glass Jars with lids (Wide-mouth Mason jars work great)
- Fermentation weights or other heavy non-porous food-safe item (optional, but recommended)
- A kitchen scale (optional)
- Salt (I use sea salt, but any salt will do)
- Water (Preferably filtered to remove chlorine / chloramine)
- A pot and a heat source (to help dissolve the salt in the water)
- A refrigerator of cool root cellar (for storing your ferments)
That's it! You likely already have everything you need except fermentation weights, which are relatively inexpensive. While not strictly required, they ensure everything stays submerged below the brine level to prevent mold from growing on top.
Some folks decide to use a smooth non-porous rock to weigh everything down, which can work in a pinch - however the acidic brine may corrode the rock and release unknown minerals into the brine. This could be hazardous if you choose the wrong rock, so I don't personally recomment this.
Others wedge a thick leaf over the top of the fermented veggies and call it a day - though this may grow mold if it's not firmly wedged below the brine level. While the mold can be scraped off and isn't a big deal, I also don't recommend this as leaves get softer and less able to be wedged in over time (and I don't like mold near my food). In a pinch this can work, though.
Process For Fermenting
The general rule of thumb is to create a brine that contains 2-4% of the weight of the water as salt. 3% is the most commonly-used amount.
That means you'll weigh your water on your kitchen scale, multiply that by 0.03, and add that weight in salt.
E.g.: If you have 500 grams of water, multiply by 0.03 and you'll get 15. (500 * 0.03 = 15). Add 15 grams of salt.
Next, heat the water and salt in a pot on the stove, stirring until the salt has fully dissolved.
Let the bring fully cool down to room temperature, so it doesn't kill the wild lactobacillus bacteria that's naturally present on your veggies.
Once the brine has cooled, pour it into your jar over your veggies, until the brine level is above the veggies.
If the veggies float, you can weigh them down with your fermentation weight. A great technique here is to take any edible leafy green (collard, broccoli leaf, kale, lettuce, radish green, etc) and cover the veggies with it before topping with the fermentation weight. This should hold the veggies and the leaf both down below the brine level.
Put the lid on the jar (any type of lid will do) and secure it only to finger-tightness. Don't crank it on tight, as you'll want the gas that builds up to be able to escape.
Leave the jar at room temperature for 1-4 weeks, until the bubbles stop. The duration will depend on how warm your house is, as well as how finely you chopped your veggies.
Check back every few days, loosen the lid to burp any gas, and consider tasting the ferment. It's safe to taste at any point, and when it's as tangy as you want it, you can crank the lid on tight and put it in your fridge, cool basement, or root cellar for long-term storage.
That's it, you've now made your first ferment. Give yourself a pat on the back!
Tips and Tricks
Note that ferments will produce funky smells (think sauerkraut) especially in their first 1-4 weeks at room temperature, however these smells will also continue for a while at a lesser degree in the fridge, basement, or root cellar. This is totally normal and expected.
That's all for now, thanks for reading!
If you have any questions, comments, or would like to connect with fellow gardeners, head on over to the forum and post there.






![Don't Till Away Your Carbon [Neon] Sticker](/media/product_images/dont-till-away-your-carbon-[neon]_sticker_260x260.png)
![Black Dirt Live Again [Blue] Sticker](/media/product_images/black-dirt-live-again-[blue]_sticker_260x260.png)
