Table of Contents
* Our articles never contain AI-generated slop *
Howdy, gardeners! Today we're talking about a personal favorite of mine - butternut squash. Specifically how to cure butternut squash for storage. This is an importan process if you'd like your squash to keep for any length of time without needing to freeze, dehydrate, or can it.
I really dig butternut, and always have a ton of them diced up in my freezer. I go a little crazy growing it, but it's such a hearty and filling staple that I can never get enough of it!
Plus it's got tons of great vitamin A, vitamin C, magnesium, and potassium, dense calories and plenty of fiber.
Disclaimer: This post may contain affiliate links. Refer to the privacy policy for more information.
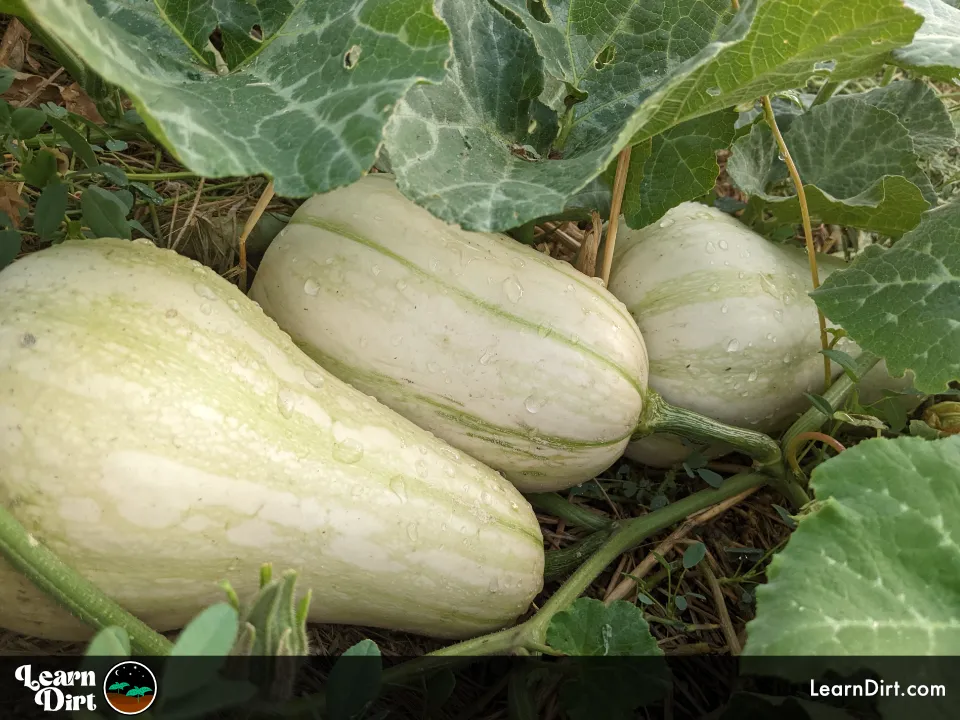
Gosden butternut squash harvested straight from your garden - Except instead of going bad in a couple weeks like grocery store squash, it keeps for months and months after the season ends.
I'm talking about the magic of squash curing, my friend!
We're going to look at how to cure butternut squash here for storage-readiness and supreme flavor.
What Is Squash Curing?
Curing is a time-honored technique that ensures your butternut squash reaches its full potential!
When you leave your squash to mature on the vine and go through the natural curing process, it undergoes a crucial transformation. The squash's skin toughens, its sugars intensify, and it becomes more robust.
Critically, the moist inner pulp also dries out so the squash isn't so wet inside.
This combo is the key to longer shelf life, as well as enhanced flavor.
Grocery store squash is not cured, which is super lame. Good luck keeping it on your counter for months. Fat chance!
I've gotten 6 months out of a cured butternut squash at room temp in my kitchen, though, and my kitchen is 80F. Who knows how long those puppies would have gone in a 50F basement or root cellar!
That's some long shelf-life. Curing is what gives that VIP treatment to your squash, which you spent so much time and effort growing.
The extra little bit of patience for curing is crucial here, so don't rush things.
Curing Butternut Squash
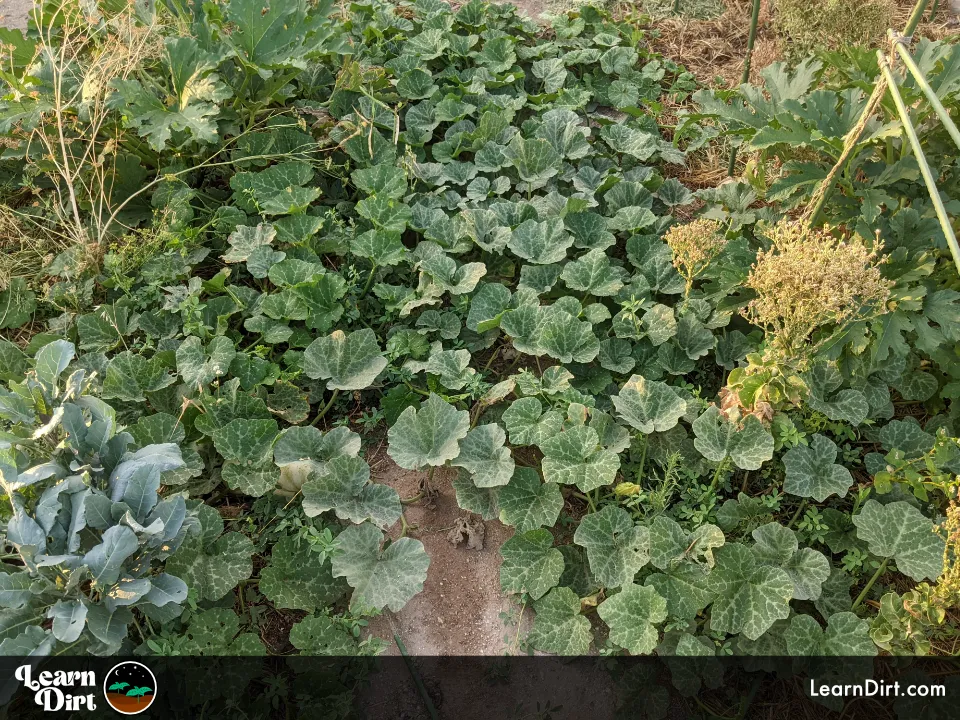
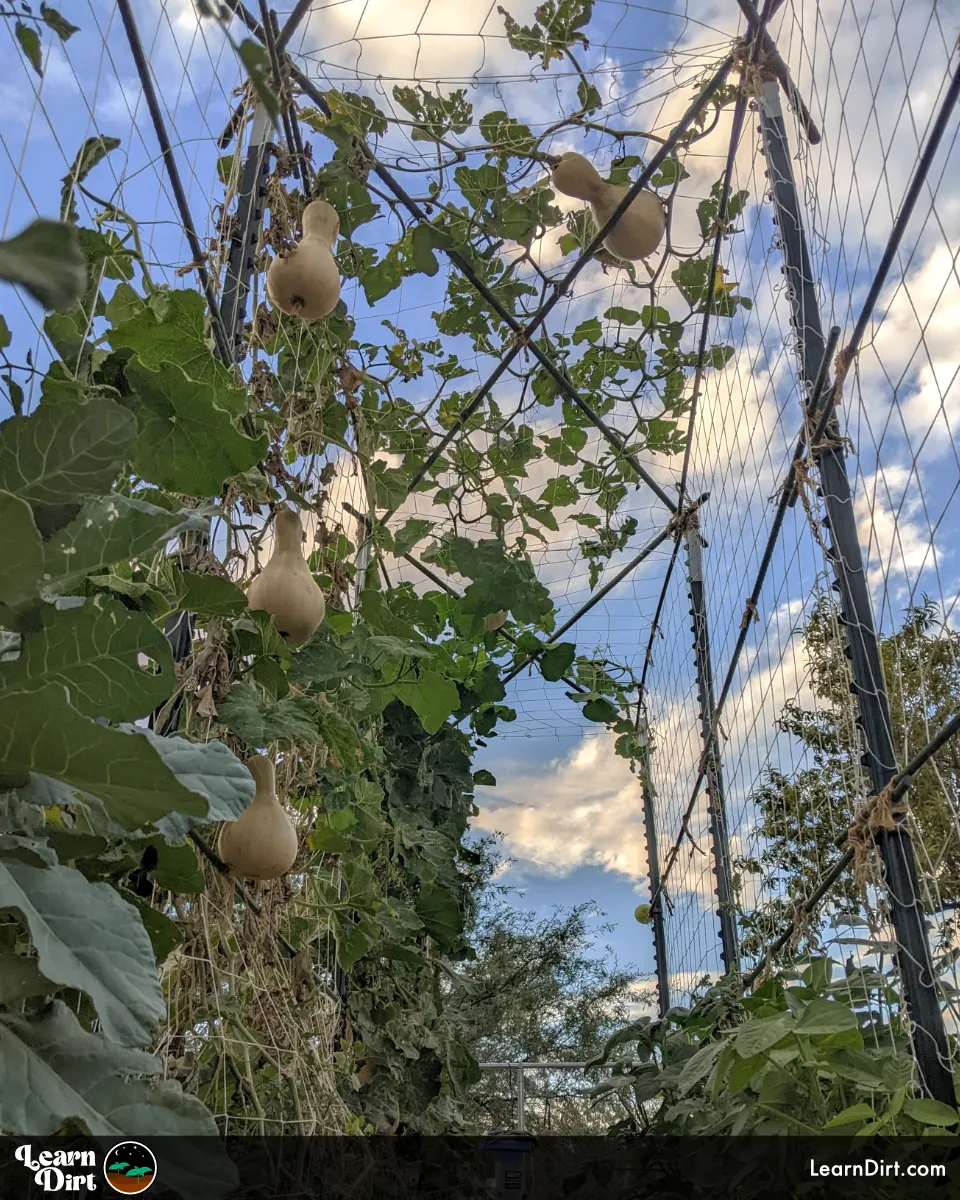
Let those butternut squash cure right where they grew, on the vine for a couple weeks after you start eyeing them for picking.
Join The Regenerative Gardening Community
A free & open space for anyone who is passionate about cultivation 🌱
Check It Out!
Mama Nature has hooked us up with the perfect curing enviro for our squash. By simply leaving them in the field and exercising some patience, your squash will cure on their own naturally.
The vine is pulling moisture from the center of the squash out, and is the only way for moisture to leave the squash. For this reason, it's important to leave it connected to the vine in order to cure if you plan to store the squash long-term.
One thing to ensure is that they have adequate air circulation. Try to space your squash out and avoid overcrowding.
Consider picking squash up off the ground and putting something under them if you didn't grow them vertically. This will keep the soil critters from chewing on them. Make sure the soil isn't TOO moist under each squash. Sometimes growing squash vertically here can prevent any soft spots from soil contact. I also find that positioning my squash on the sand outside of my plots allows them to stay attached to the vine, while staying dry.
If you need to, you can put a piece of wood, a plastic lid, a plate or even a few layers of cardboard underneath any squash that are resting on very wet soil. This will help prevent them from rotting.
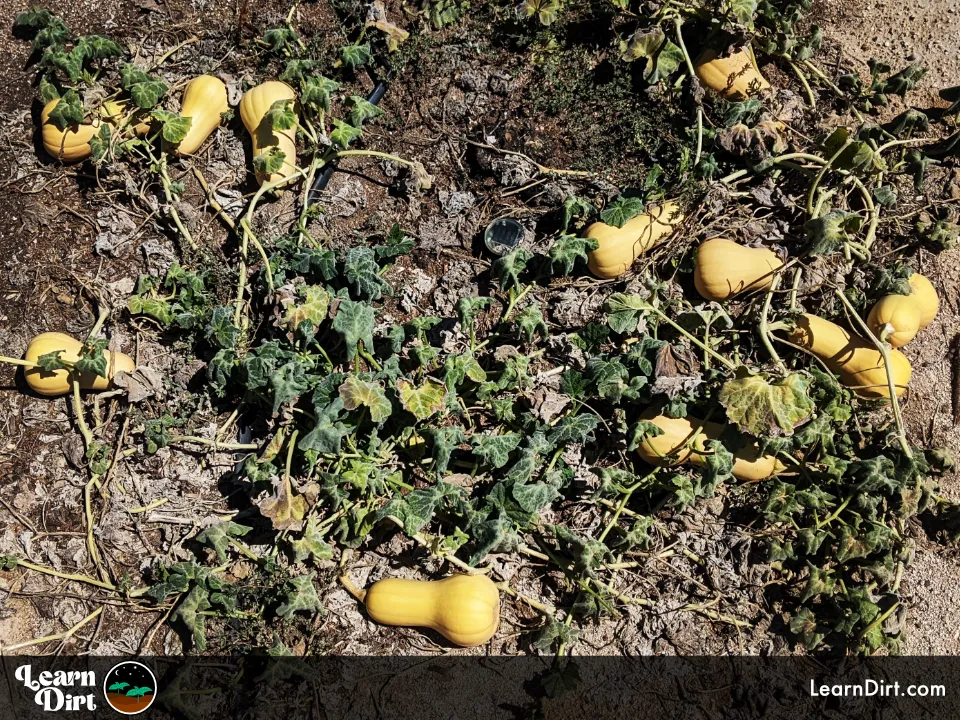
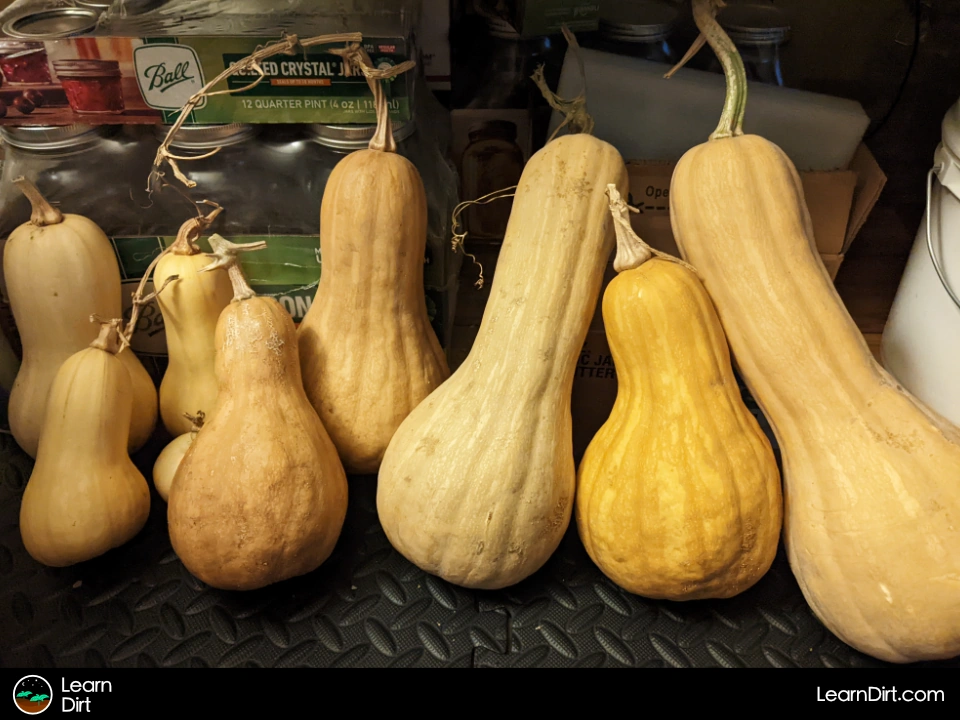
During this curing phase, you'll notice a transformation of the squash's skin. It will gradually develop a lovely golden tan color, indicating that the curing process is taking place.
The hardest part is to resist the temptation to pick or move them prematurely. If they snap off the vine, they won't cure as well.
The moisture is being wicked out of them through the vines, so it's important to be delicate if you move them.
Just leave them be for now, letting their inner moisture slowly wick out through the drying vine.
How Long to Cure Butternut Squash
As a regenerative gardener, patience is perhaps our most important garden tool.
The curing process requires exercising a bit of that patience, but trust me, the rewards are worth it!
Minor blemishes or scratches usually heal during this time, helping ensure longevity in storage.
After the vine has withered away completely, it is still pulling moisture out of the squash. Hang onto for just a couple more weeks while the curing process finished.
After an extra couple weeks on the brown dried vines, it's time to check out the squash and see if they're ready.
When Is Butternut Squash Ready?
After those last 2 weeks, the skin should be hard and firmly attached to the flesh at this point. Give it a gentle tap; if it sounds hollow, jackpot!

Time to finally grab your shears and harvest that butternut squash!
During those 2 weeks the moisture was slowly wicking out of the squash from the inside out through the vine. If we hadn't allowed it to cure, the inside would be wet and liable to mold eventually. That wouldn't be good for storage. Problem solved now, though!
I used some 3.5" polyester trellis netting on T-posts above and was extremely surprised by just how many butternut squash it will hold up off the ground.
I had 60+ lbs of them all hanging from it!
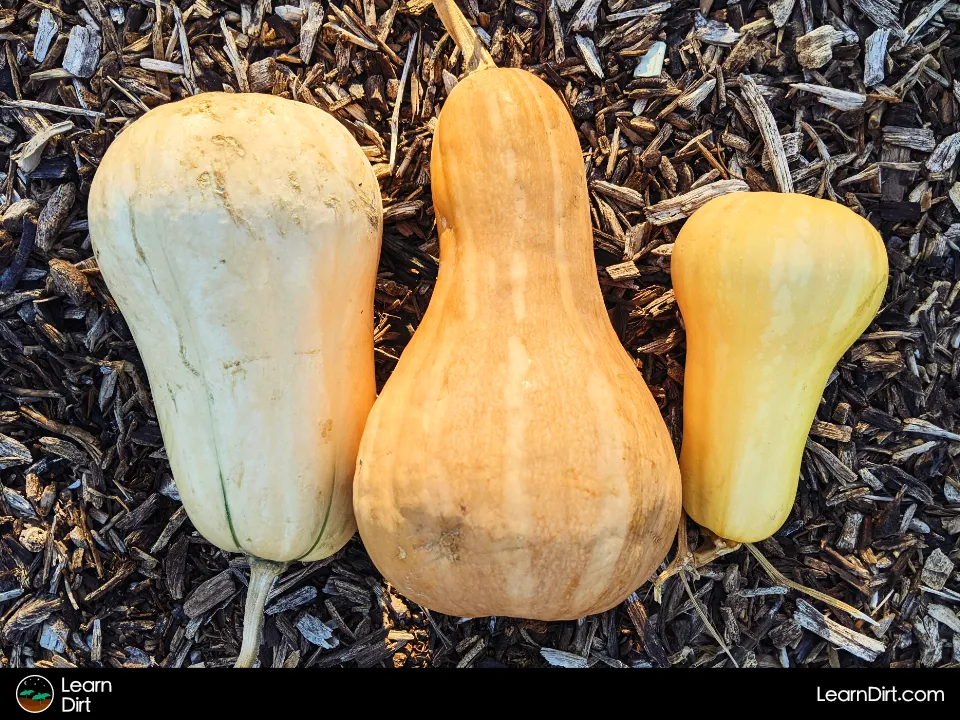
Butternut Squash Storage Life
Congrats to ya! Your butternut squash should now be fully cured and ready to go into your pantry or root cellar (or as a holiday decoration on your mantle).
Store your cured butternut squash in a cool, dark, dry place with good ventilation. A temperature of around 50 to 55F (10 to 13C) is ideal for long-term storage.
I've had cured butternut last 6 months months at 80F in a warm house, but I don't personally recommend it. Cooler temps are better for longer storage.
Wrapping Up...
Et Voila! You now possess the knowledge to unlock the full potential of your butternut squash harvest. Use it wisely.
By allowing your squash to cure on the vine, you are treating yourself to a truly remarkable experience - a flavor-packed delight that can be savored for months to come!
By growing food locally, organically, and in harmony with the planet, we can rebuild our soils, green the desert, sequester carbon, and play our part in saving our precious home.
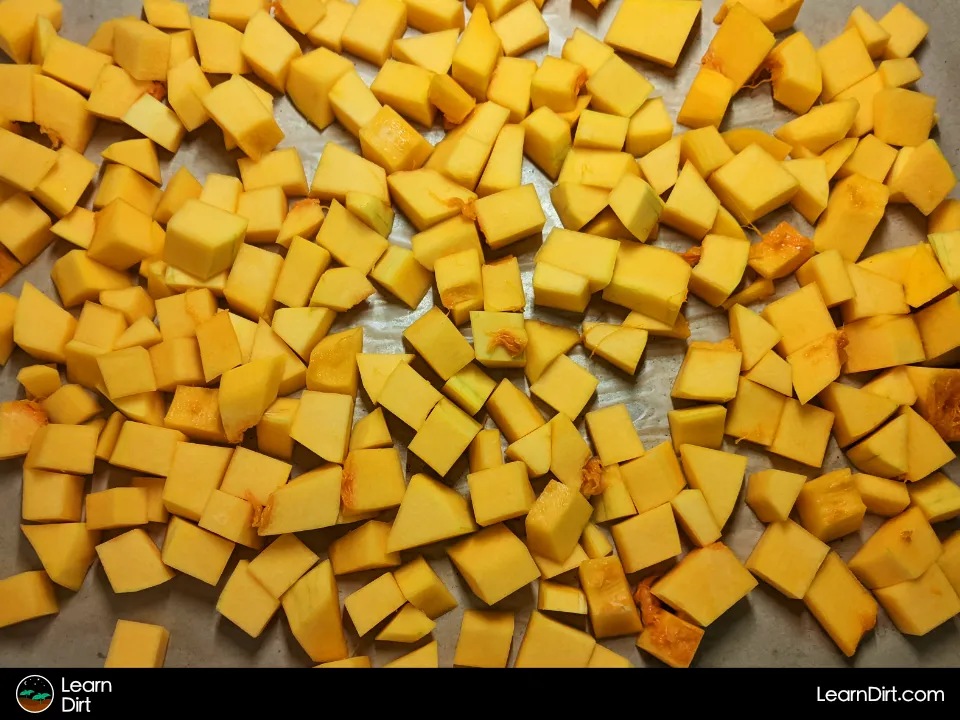
Don't forget to save some butternut squash seeds for planting next season, and then roast and salt the rest just like pumpkin seeds.

I love butternut squash seeds in my granola personally, and of course they make the perfect topping for butternut squash soup.
Happy curing, all ya gardeners. May your butternut squash harvests be so bountiful that they overflow onto all your neighbors porches.
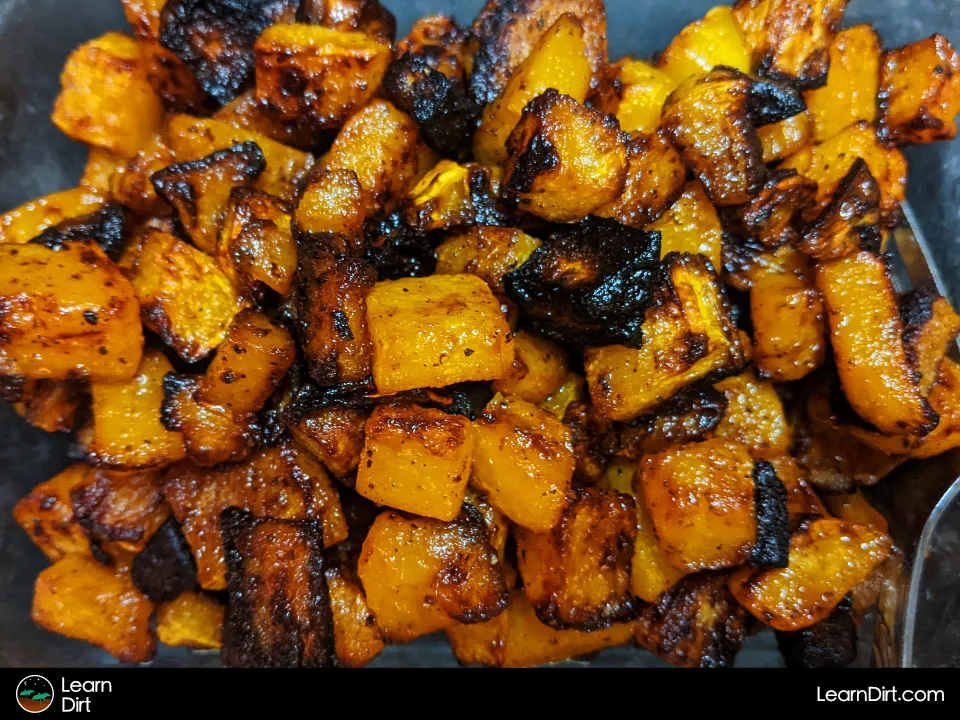
P.S. - Butternut squash are really dang good when roasted with turnips, beets, sweet potatoes, and parsnips!
That's all for now, thanks for reading!
If you have any questions, comments, or would like to connect with fellow gardeners, head on over to the forum and post there.