Table of Contents
- Small Space Considerations
- Materials & Equipment
- Starting the Composting Process
- Maintaining the Composting Cycle
- Curing Compost
- Sifting Compost
- Using Finished Compost
- Final Thoughts...
* Our articles never contain AI-generated slop *
If you've got limited space but are looking to get into composting, you're in the right place. Welcome in to the guide to small space composting!
Composting serves 2 main purposes for gardeners:
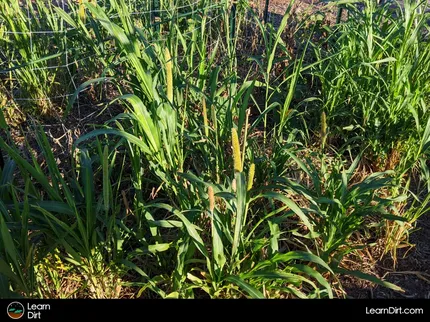
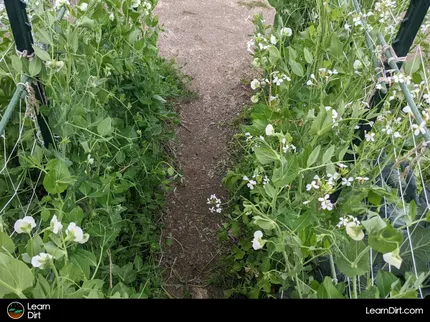
- Recycling garden plant material, so the nutrients can be used again
- Diverting household waste into the garden as a nutrient source
-Soil is the cornerstone of a successful garden.
-Composting is the process by which soil is created.
Disclaimer: This post may contain affiliate links. Refer to the privacy policy for more information.
You can conclude, then, that having an impeccable understanding of compost is not optional for organic gardeners. As the precursor to healthy soil, it is the thing upon which your success at gardening will hinge almost entirely.
In this guide we'll look at the composting process in detail, as well as specific considerations for composting in small spaces, such as apartments and condos.
Let's get into it!
Small Space Considerations
To get straight to the point: even if you live in a small space, as long as you have at least 1 square foot of outdoor patio or balcony space, you can definitely compost!
You can also compost in a garage if you have that option available to you.
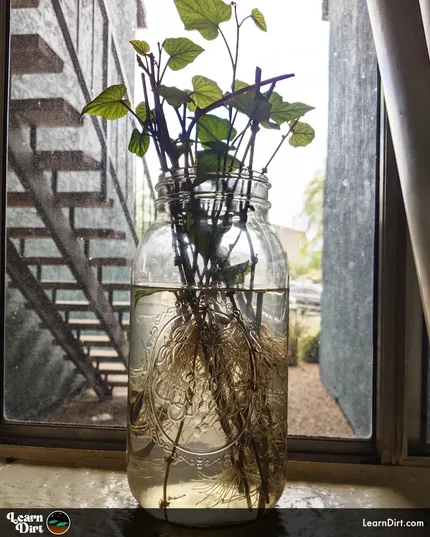
If you have absolutely no outdoor space nor garage space at all, consider an indoor worm bin.
Assuming you've got a couple feet of space outdoors, let's talk about some small space considerations here to improve your chances of success:
Smells
Despite the common misconception, compost should never smell bad. If it does, something has gone terribly wrong.
Do not be afraid to compost on a patio or balcony in a community because of smells. Always add enough "browns" to dilute and insulate your "greens" to prevent odor. Learn how to manage your compost level of bioactivity so your compost never smells bad.
Know how to prevent compost from turning anaerobic, and how to save it if it does.
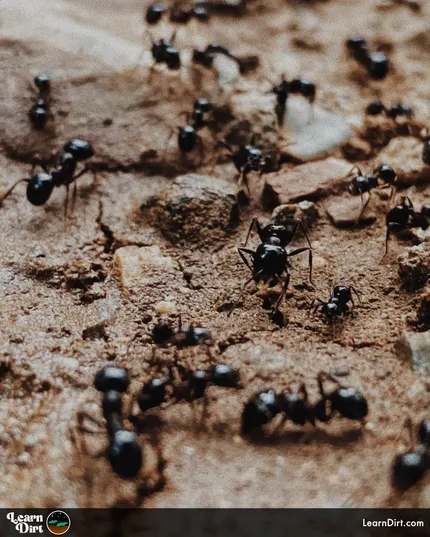
Bugs
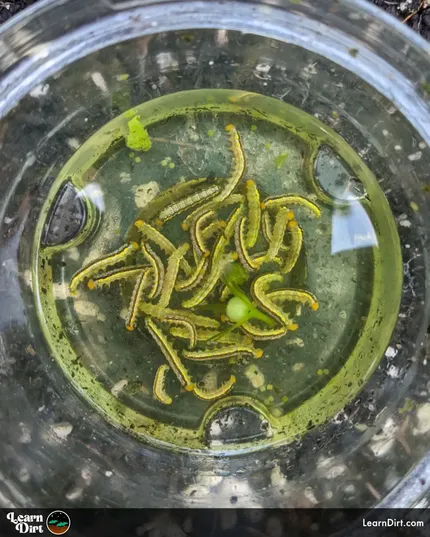
Compost is powered by creatures. All manner of decomposers will take up residence in healthy compost to help break things down.
While the majority of compost critters are microscopic, such as beneficial bacteria and fungi, many are also macroscopic. There will be bugs. Your job is to learn to appreciate them and help balance their populations.
Some of the bugs you'll find in your compost are decomposers, while others are predators that keep decomposer populations in check. Both are very important for making successful compost.
Join The Regenerative Gardening Community
A free & open space for anyone who is passionate about cultivation 🌱
Check It Out!
Materials & Equipment
Choosing the Right Container
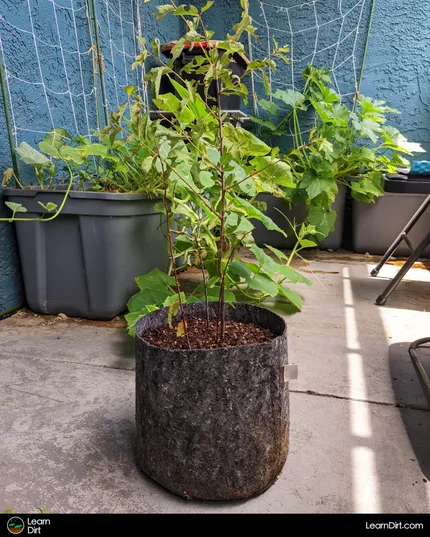
Consider using 20-gallon totes or similar containers for composting. I use these on a small patio and they work marvelously. Punch a few drainage holes in the bottom.
Starting the Composting Process
When you're kicking off the composting process, your primary goal is to create an environment that supports a diverse array of decomposers. These may include fungi, bacteria, mites, worms, isopods, and more!
If you can give your decomposers the conditions they need to thrive, they'll build compost for you rapidly. The happier the decomposers are, the better your compost will be, and the faster you'll get it.
Just like any plant or animal you intend to care for, you'll need to learn about the specific needs of decomposers. Study everything you can about how decomposition works. Learn what your decomposers like, which ones are likely to be present in compost, and what they won't tolerate. Get to know them well, you're their caretaker.
By providing them with sufficient food, moisture, temperature, oxygen, etc. you can jumpstart the decomposition process and give your microbes the best chances at surviving and thriving amongst your food scraps and dead plant material.
Adding Initial Ingredients
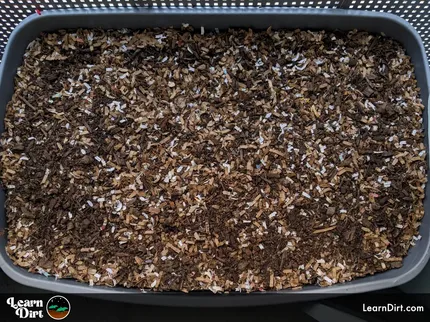
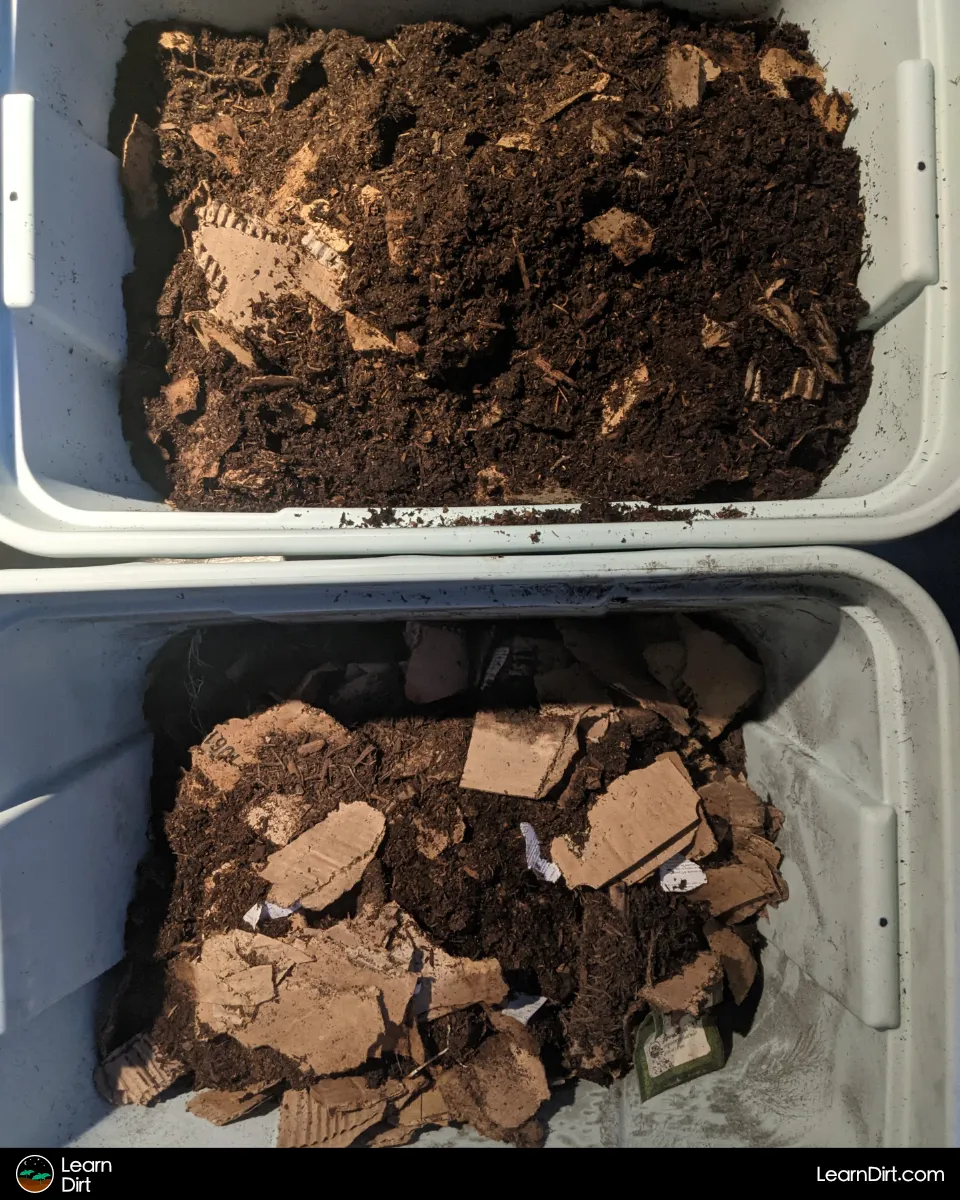
In the beginning, introduce a mixture of wet food scraps, coffee grounds, and cardboard into the compost bin.
This rich blend of organic matter provides the necessary nutrients for the decomposers.
Managing Smells and Moisture
To contain any unpleasant smells, cover the compost with a few inches of shredded cardboard, dried leaves, or sawdust.
Maintaining the Composting Cycle
The composting process requires time and periodic maintenance to ensure effective decomposition. By following these steps, you can keep your compost active and healthy:
Layering the Compost
Create layers of food scraps, coffee grounds, cardboard, shredded paper, and other organic matter.
This "lasagna" approach promotes a balanced breakdown of materials. Cap the layers with a few inches of shredded cardboard.
Allowing Decomposition
Let the compost sit for a month or more without much additional watering.
During this time, the compost will naturally evaporate off excess moisture, and begin to break down the nutrients.
Aeration and Turning
Around the second month, gently turn the compost to aerate it.
If there are no strong odors, lightly spritz it with water to maintain moisture levels. However, avoid excessive turning if unpleasant smells are present.
Lotech sells this sweet compost crank that's made here in Tucson, which I love for turning my piles.
Compost tumblers are another great option which make turning your compost a trivial task.
Gradual Turning and Watering
By the third month, you can turn the compost more frequently, exposing it to air.
Increase or decrease moisture levels based on the progress of decomposition. Adjustments should consider the seasonal and climate conditions in your region.
Achieving Mature Compost
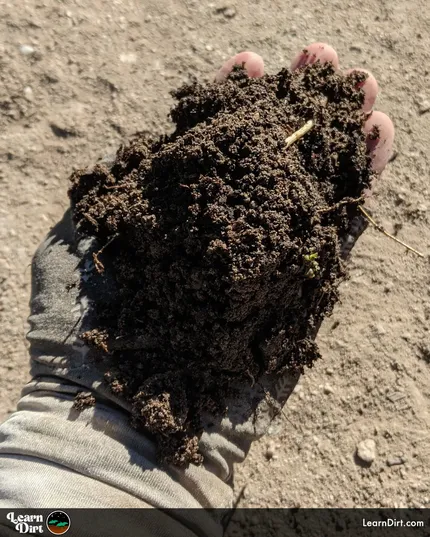
Continuing the process of watering and turning the compost during months four and five will gradually transform it into a soil-like substance.
Cooler climates may require a longer composting period.
Curing Compost
The longer the curing period, the better the results. During this phase, moisture levels are reduced, and biological activity slows down.
Think about using multiple cure containers or bays as well - possibly turning a 6-stage system into a 9-stage system with 3 stages deedicated to curing.
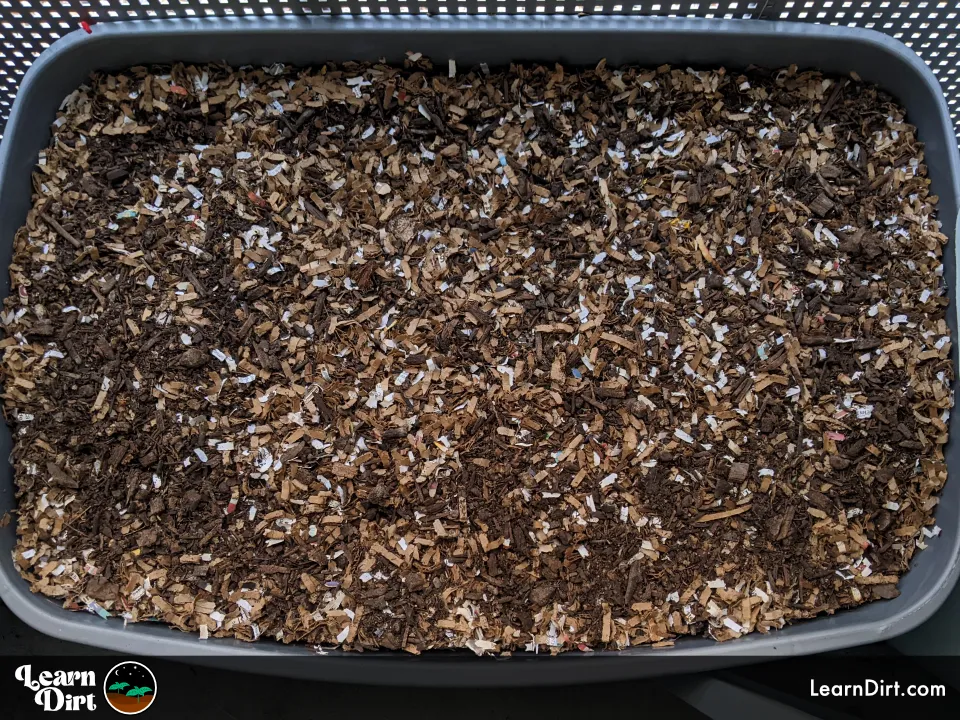
Sifting Compost
At the end of the sixth month+, sift the compost to remove any large chunks. Transfer the sifted compost to a new container for curing.
I use a piece or two of 1/4" hardware cloth laid over a wheelbarrow, bucket, or tote for screening compost.
Using Finished Compost
Although finished compost is a valuable resource, it requires careful application to avoid overwhelming young plants with excessive nutrients.
Consider the following recommendations when using compost:
Mixing Ratios
While it may be tempting to use 100% compost, diluting it with other ingredients benefits the plants.
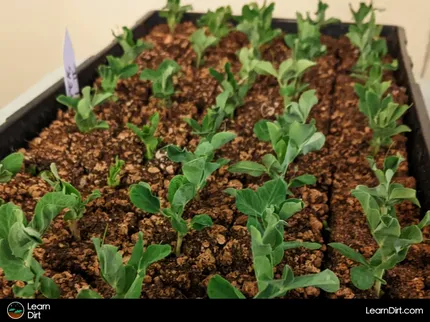
In potting mixes, ensure compost constitutes no more than 2/3rds of the total mixture. Remember that the strength and nutrient content of compost can be overwhelming for seedlings and small plants.
For larger seed starting mixes (e.g., 2-inch soil blocks), limit compost to a maximum of 1/3. In smaller seed starting mixes (e.g., 3/8-inch soil blocks), restrict compost to 25% or less.
Balance the compost with inert ingredients like Coco peat, leaf mold, or peat moss, along with perlite or sand.
Brewing Compost Tea
To learn more, check out this Compost Tea guide.
Dig Cool Merch?
![Don't Till Away Your Carbon [Taffy]](/media/product_images/dont-till-away-your-carbon-[taffy]_sticker_260x260.png)

Final Thoughts...
Remember to adjust your composting methods based on your local climate and the specific needs of your plants. Happy composting!
That's all for now, thanks for reading!
If you have any questions, comments, or would like to connect with fellow gardeners, head on over to the forum and post there.